Create a boilerplate
TIP
如果想了解其他安装方式,请移步 选择安装方式。
本节将介绍我们最推荐的 Koishi 开发方案——创建模板项目。相比直接从零搭建,模板项目的优势在于:
- 创建完成即是拥有带完整控制台体验的项目,一键创建各种模板插件
- 支持直接加载 TypeScript,你可以尽情享受代码提示和类型检查带来的便利
- 支持插件热重载,你可以在不重启应用的情况下修改插件代码,并获得即时的反馈
- 支持二次开发,你可以将你自己的机器人与其他人的插件进行联合调试
当然,模板项目也可以直接用于生产。虽然在操作上可能不如启动器方便,但它提供了更多的自由度,并能在启动器所覆盖不到的场景下顺利运行。
安装 Node.js
Koishi 需要 Node.js (最低 v18,推荐使用 LTS) 运行环境,你需要自己安装它。
下载安装包
首先我们前往 Node.js 的官方网站:
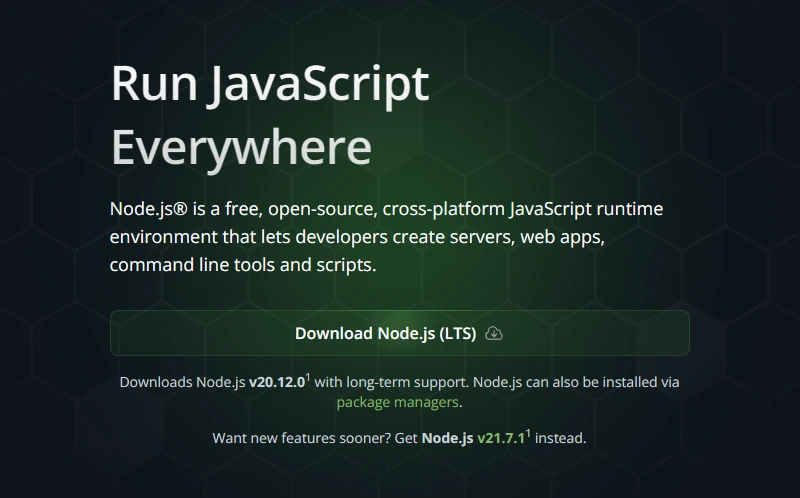
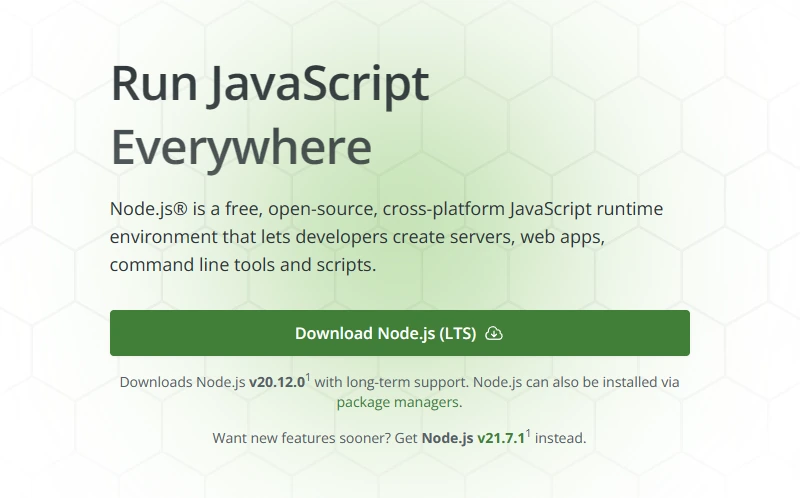
在这里可以看到两个巨大的按钮,分别对应着 LTS (长期维护版) 和 Current (最新版本)。我们建议你选择更加稳定的 LTS 版本,点击按钮即可下载安装包。
随后,运行下载好的安装包,根据提示完成整个安装流程即可。
安装包管理器
Node.js 自带名为 npm 的包管理器,你可以直接使用它。我们同时也推荐功能更强大的 yarn 作为包管理器。它的安装非常简单,只需打开命令行输入下面的命令:
# 安装 yarn
npm i -g yarn

# 查看版本
yarn -v
TIP
部分 Windows 用户可能会发现以下错误 (参考链接):
yarn:无法加载文件 yarn.ps1,因为在此系统上禁止运行脚本。此时请以管理员身份重新运行终端,并输入下面的命令:
Set-ExecutionPolicy RemoteSigned之后就可以正常使用 yarn 了。
配置镜像源
如果你是国内用户,从 npm 或 yarn 上下载依赖可能非常慢。因此,我们推荐你配置一下镜像源,以提升安装速度。
npm config set registry https://registry.npmmirror.com创建项目
Open a command line, cd to the directory that you want to create a Koishi template project.
TIP
这个路径不宜过长,且应当避免出现中文或者空格。我们推荐的路径如下:
- Windows:
C:\dev或者D:\dev(也不要直接在盘根创建项目,最好是建一层目录) - 其他操作系统:
~/dev
Enter the following command to create Koishi template project:
npm init koishi@latestFollow the prompts and finalize the initialization process.
启动应用
If you have successfully finalized the operations above, your application should be already launched, the Koishi Console Web UI should be also opened. 如果你想要关闭应用,可以在命令行中按下 Ctrl+C 组合键。当应用处于关闭状态时,你可以在运行下面的指令以再次启动:
npm startWhat's Next...
Congratulations on mastering the basic of Koishi! 接下来: